Our detailed guide below will help you to learn how theme documentation can be useful to understand theme settings and features and resolve all your potential challenges related to Shopify theme documentation.
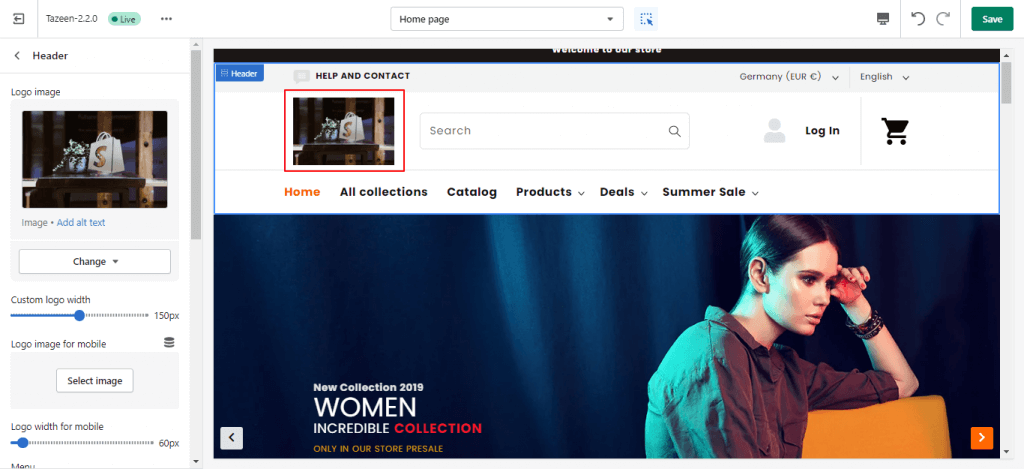
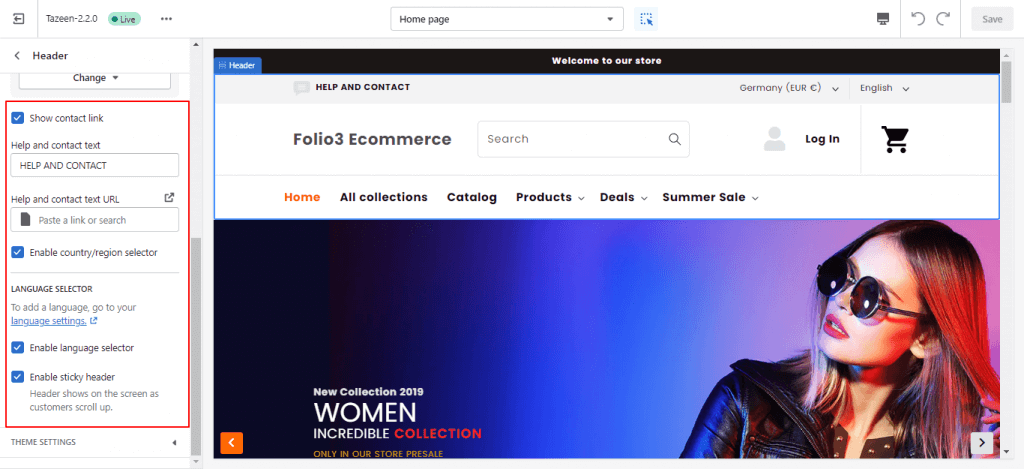
The logo image can be changed or removed and can be connected to the dynamic source.
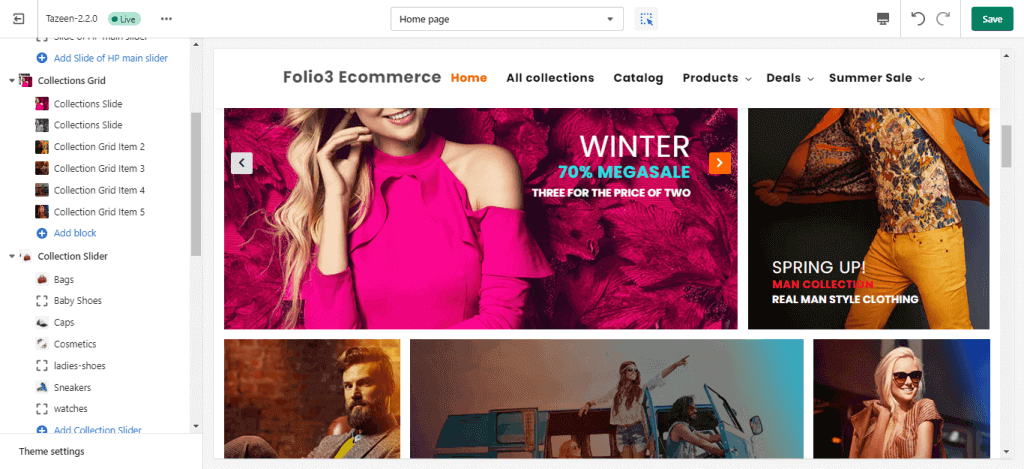
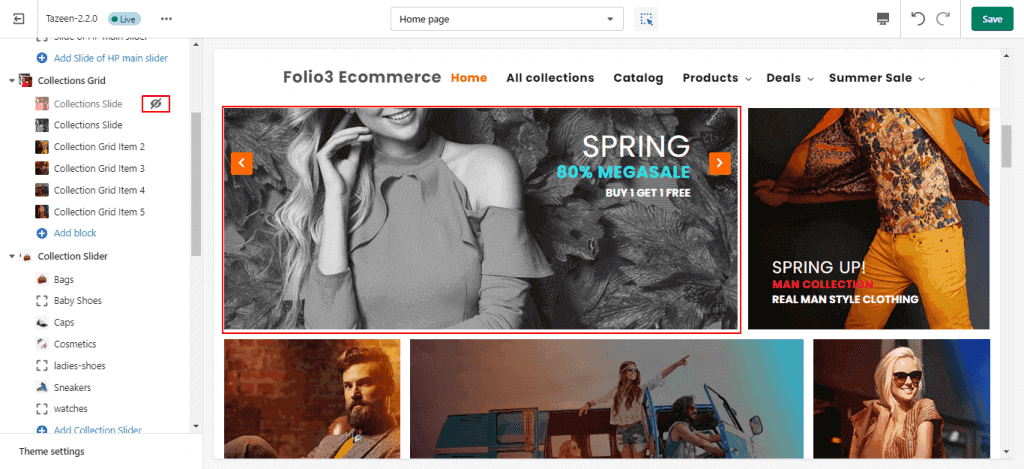
Tap on Add Block option, it will provide a dropdown option to select ‘collections slide’, once it is added then we can customize the slide as per requirements.
Collection slider > click on it: It will make the grid editable and we can customize the entire slide as per need.
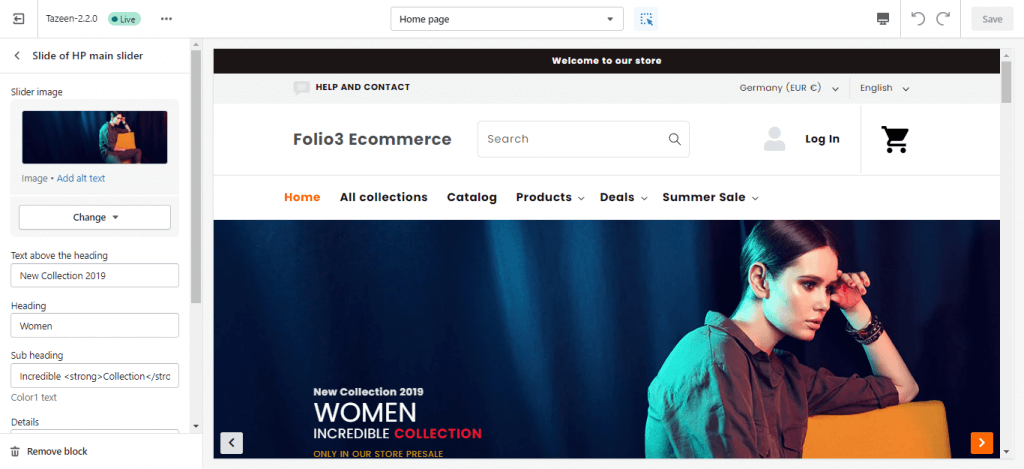
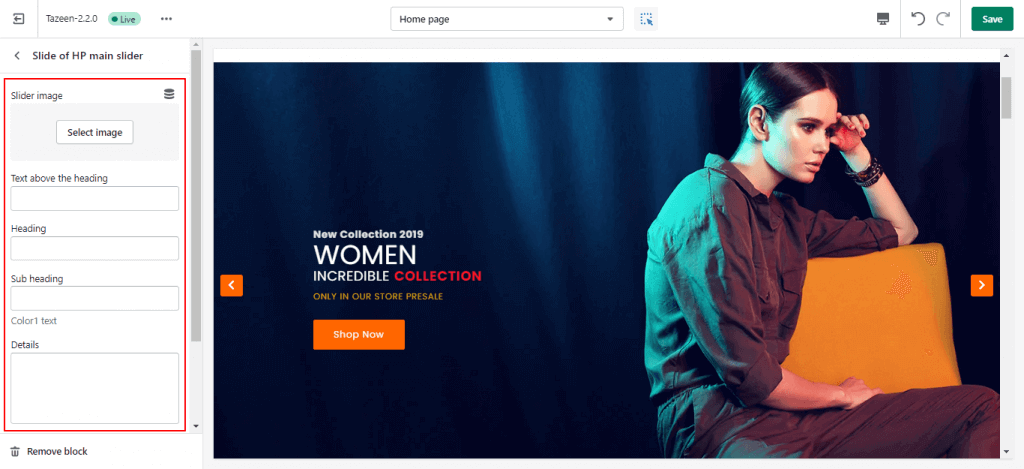
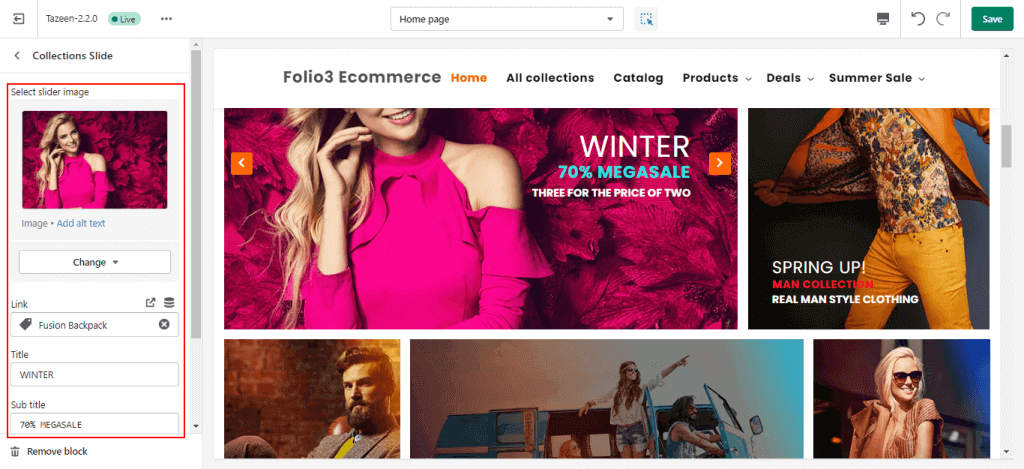
Images can be selected from Free Images available or we can upload the custom image, link, title and subtitles can be edited.
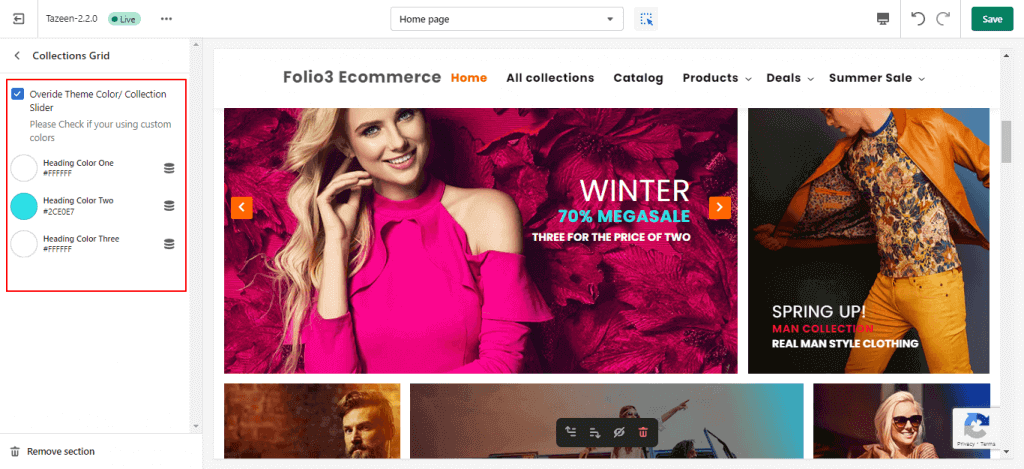
In order to edit the colors of text, tap on Collections Grid section and it will take you to the next step from where all headings present can be edited and their font color can be changed.
For removing the section, we can click on the ‘remove section’ option at the bottom of the section.
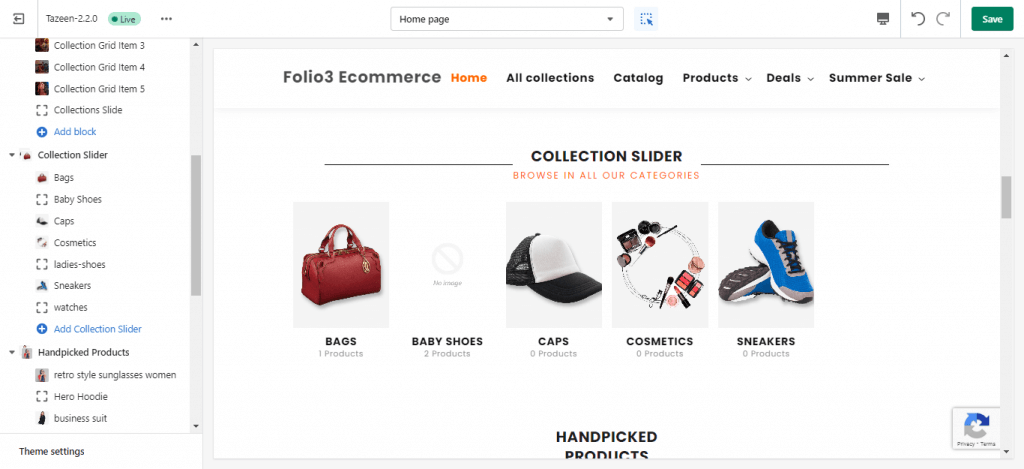
Click on Add Collection slider option, it will add a collection slider. Tap on new created slider and it will give an option to select the collection and select an image for the collection slider.
select collection > will redirect to the section where all pre-made collections are visible and we can also create a new collection as per need.
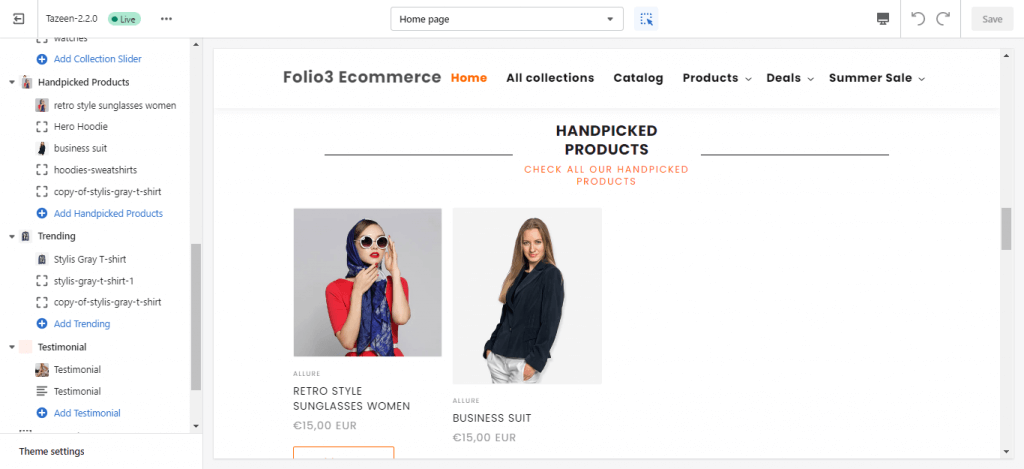
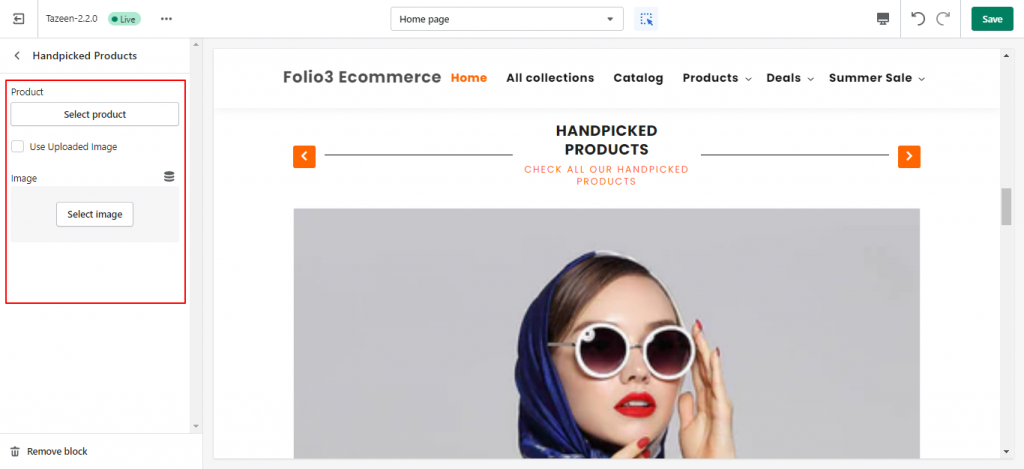
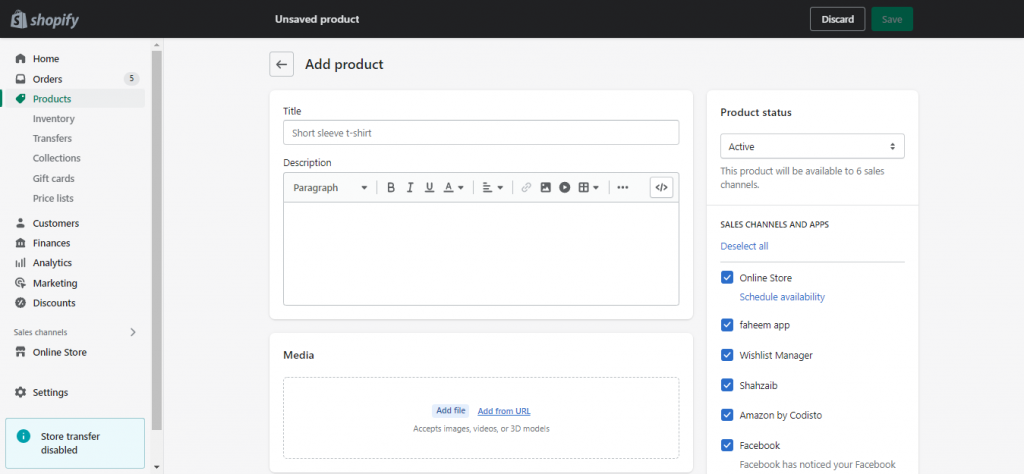
Tap on Add Handpicked products option, it will add a handpicked products section. Tap on new created product, it will redirect to the next step and will give an option to select the product from existing products. We can upload an image of the product.
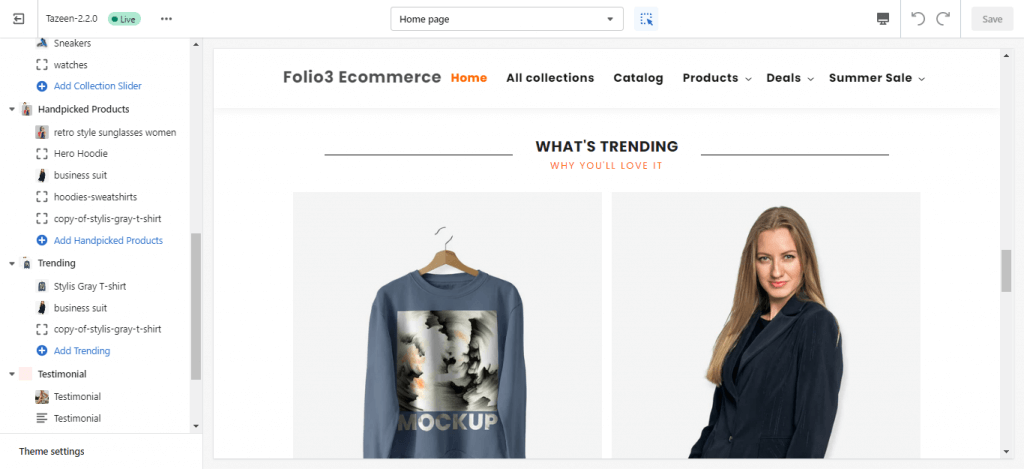
Admin > Online Store > Customize Theme > Trending. The existing trending products can be viewed by hovering over the slider row present in the trending product section.
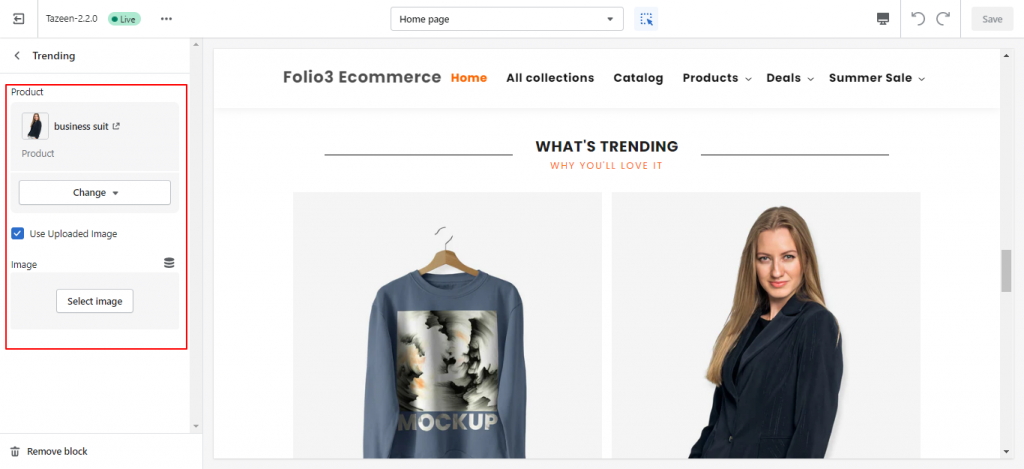
Tap on Add trending products option, it will add a trending products section. Tap on new created product, it will redirect to the next step and will give an option to select the product from existing products. We can upload an image of the product.
Admin > Online Store > Customize Theme > Testimonial. The existing testimonials can be viewed by hovering over the slider row present in the testimonial section.
Tap on Add testimonial option, it will add a new testimonial section. Tap on new created testimonial, it will redirect to the next step and will give an option to add an image, heading, text line and form field.
If we need to add a new section to our website, we can go to the bottom of the main menu and tap on ‘add section’ it will give a list of sections present within the theme to select. After selecting any section a new section will get added to the web.
Admin > Online Store > Customize Theme > Footer. The footer on web can be viewed by hovering over the slider row present in the footer section.
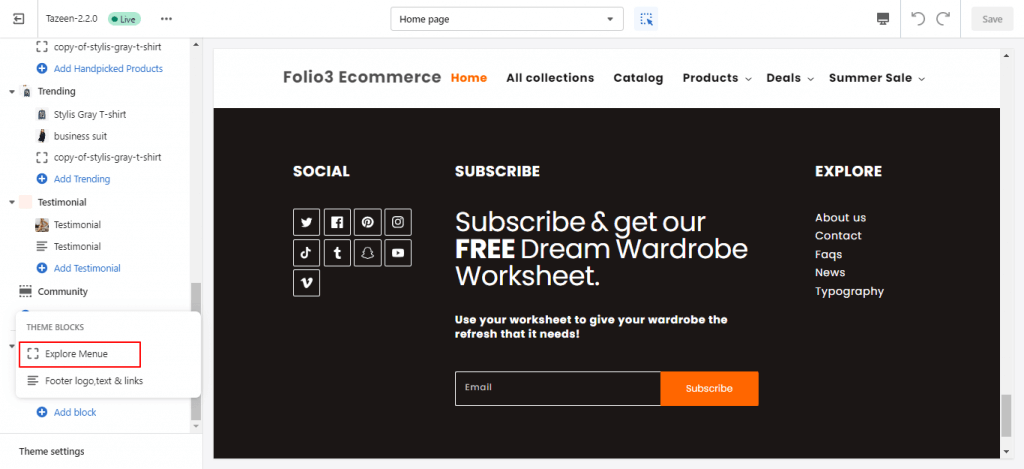
Tap on add block it will give the following options to select from the existing theme blocks.
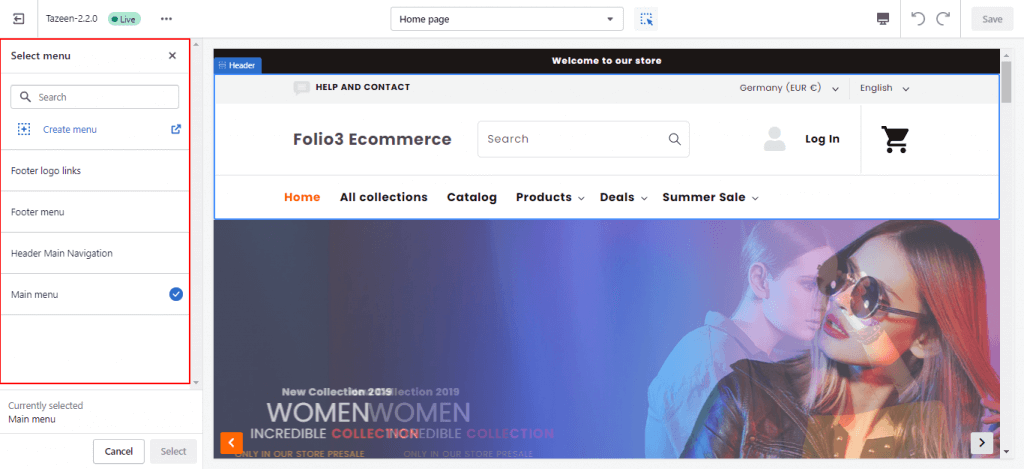
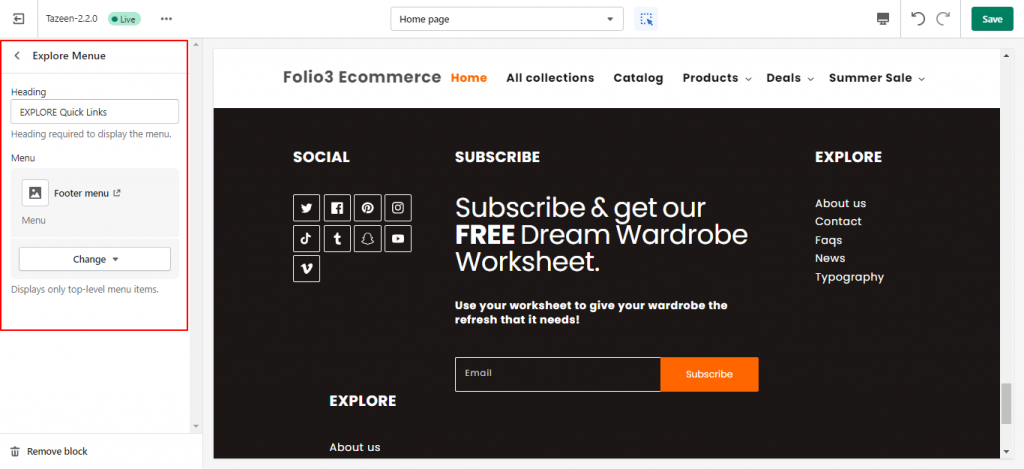
It will redirect to the new section screen and will have an option to add the heading and menu. The menu can be changed and removed as well.
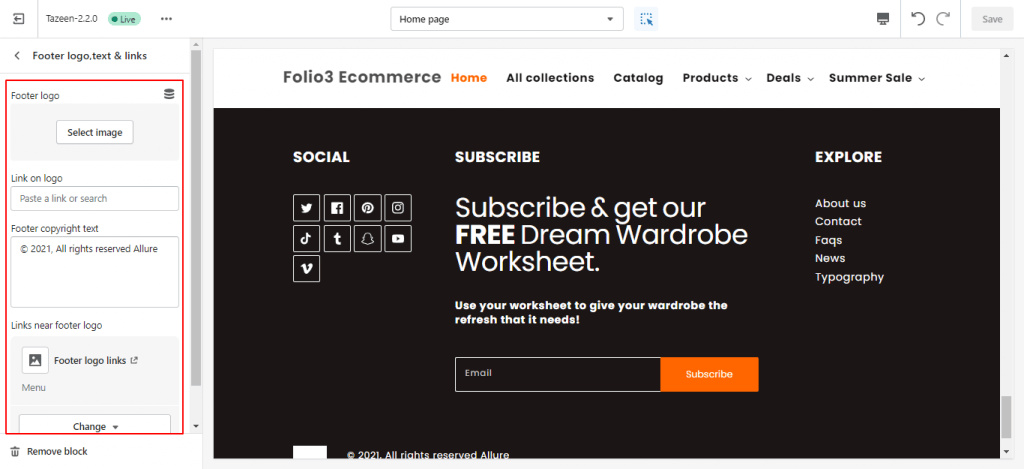
It will redirect to the new section screen and will have an option to select the footer logo, place a link on logo to add the copyright text. There is also an option to add links near the footer logo.
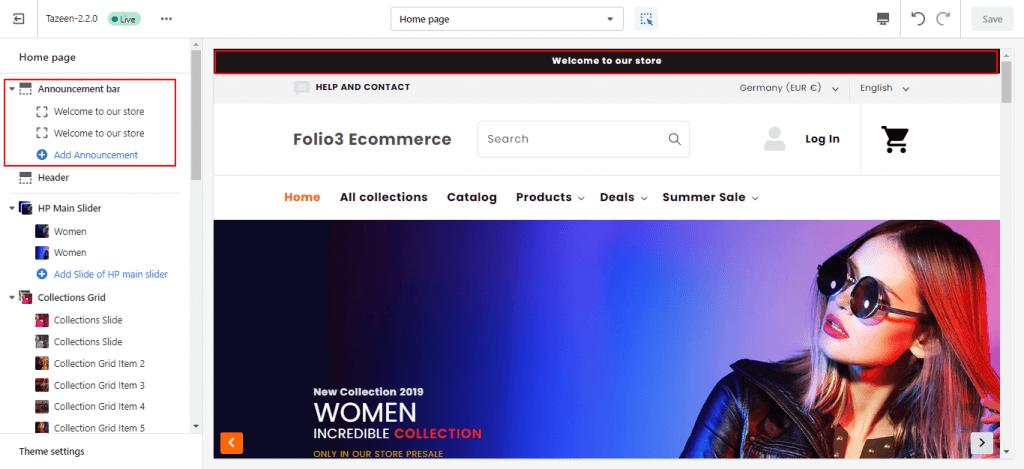
The announcement bar will be displayed at the top of the header and is mainly used if attention of the users is needed over some specific events. In order to customize go to Admin > Online Store > customize Theme > Announcement Bar.
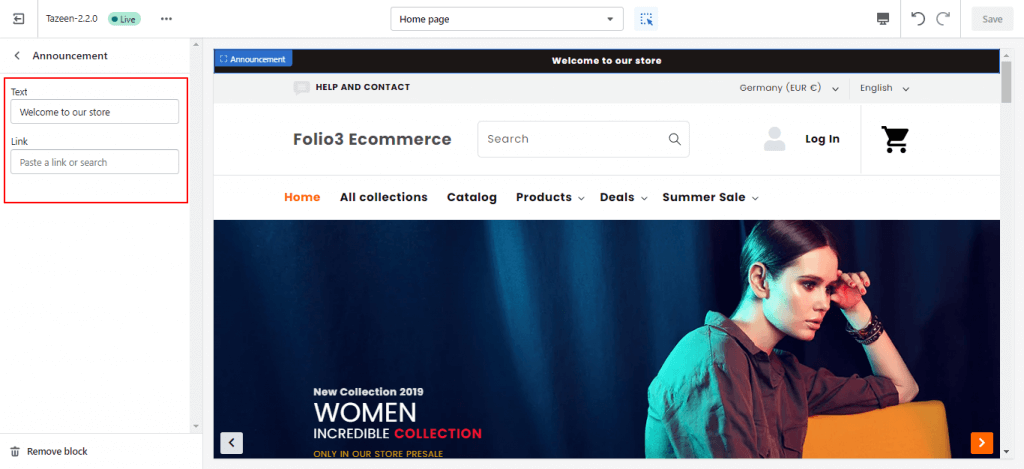
The existing entity can be edited and we can add new bar as well. Tap on existing announcement bar:
it will redirect to a new section and we can edit the text line and link on it.
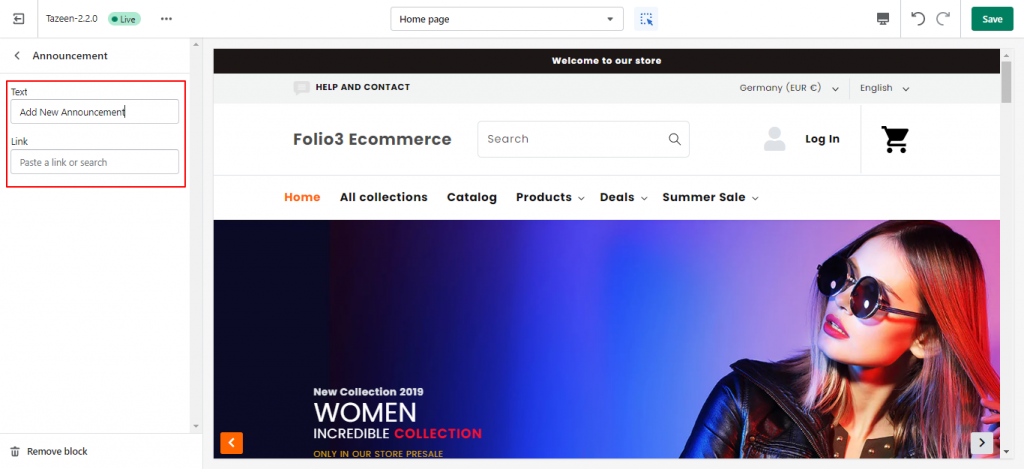
Tap on add announcement a new section will be created. Open a newly created announcement it will redirect to the new section and we can add a text line and link related to our need.
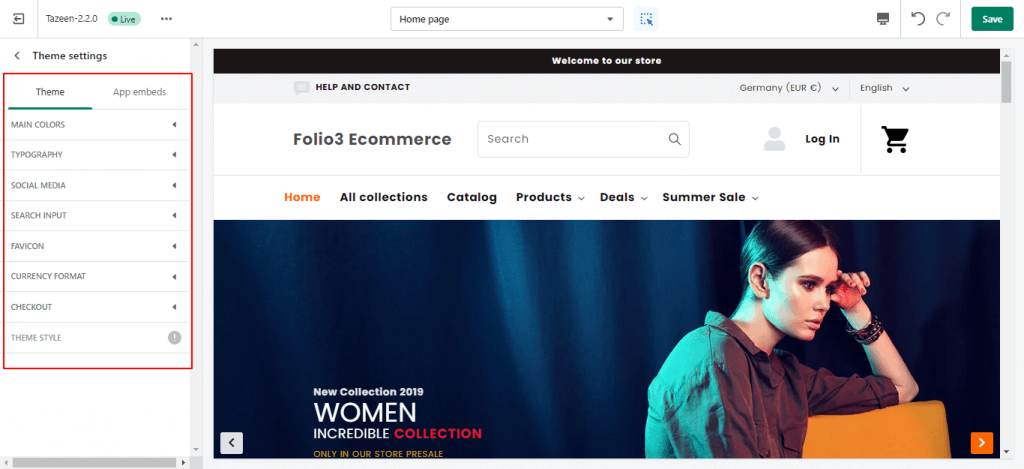
The overall theme can be customized through the theme settings section. Go to admin > online store > customize theme > theme settings.
Inside theme settings, we have options to set the main color of theme, change style of the font, add social media links, and many more.
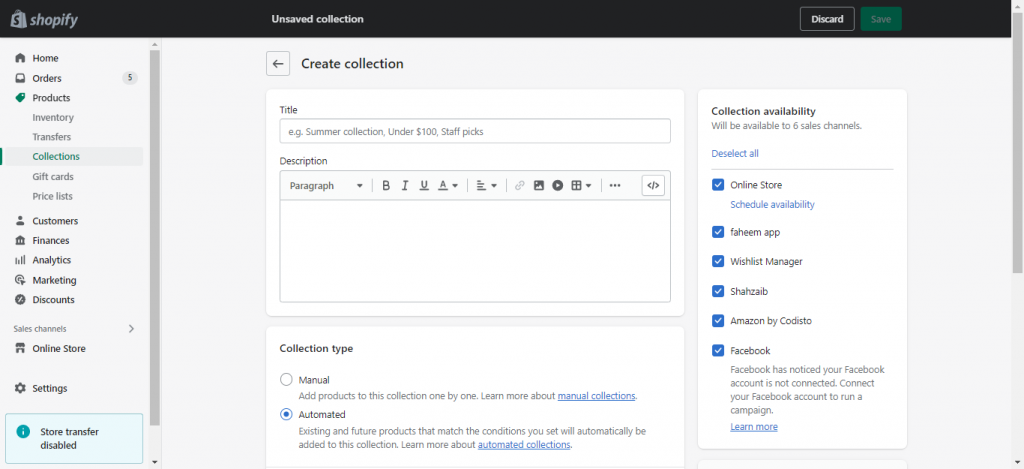
You can group your products into collections to make it easier for customers to find them based on category.
A new category / collection will get added to the store. We can add additional settings to our collection based on needs example:
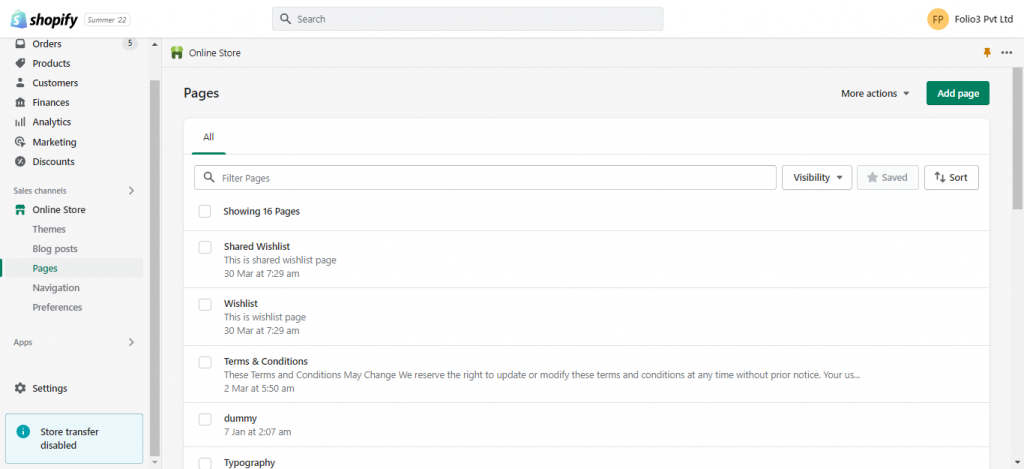
Pages on Shopify are the webpages on your Shopify store. You can use these to display important information such as About Us, Contact Us etc
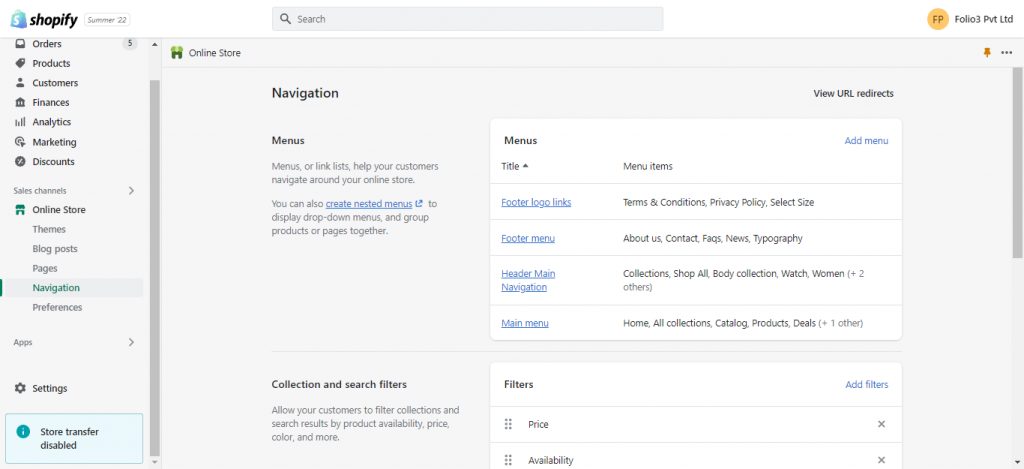
If the pages have to be displayed in the menu then we can add them by going to:
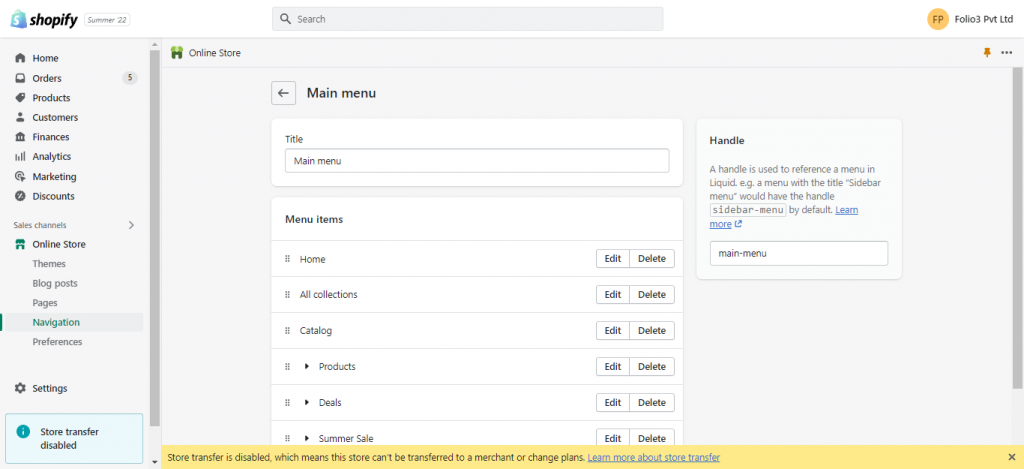
Admin > Sales Channel > Online Store > Navigation
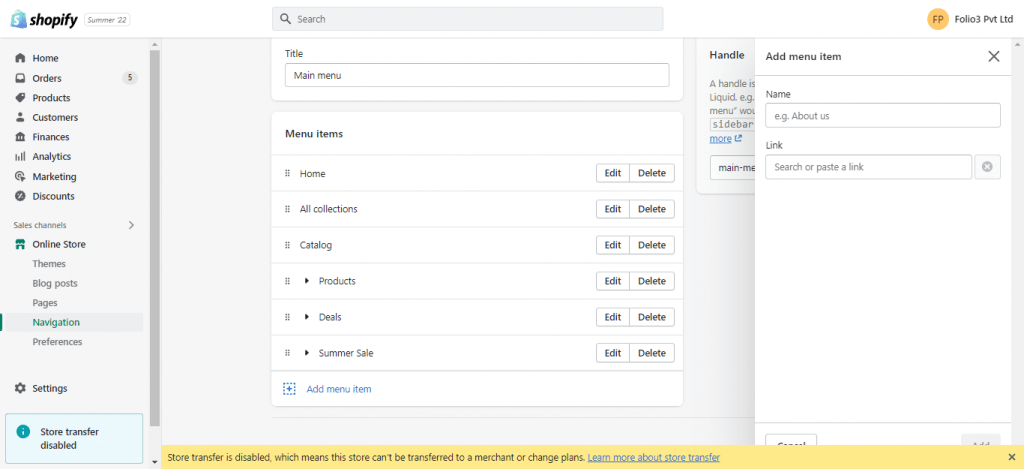
Under the navigation section there is an option to add the menu items as per requirement from where we can add the newly created pages to the menu.
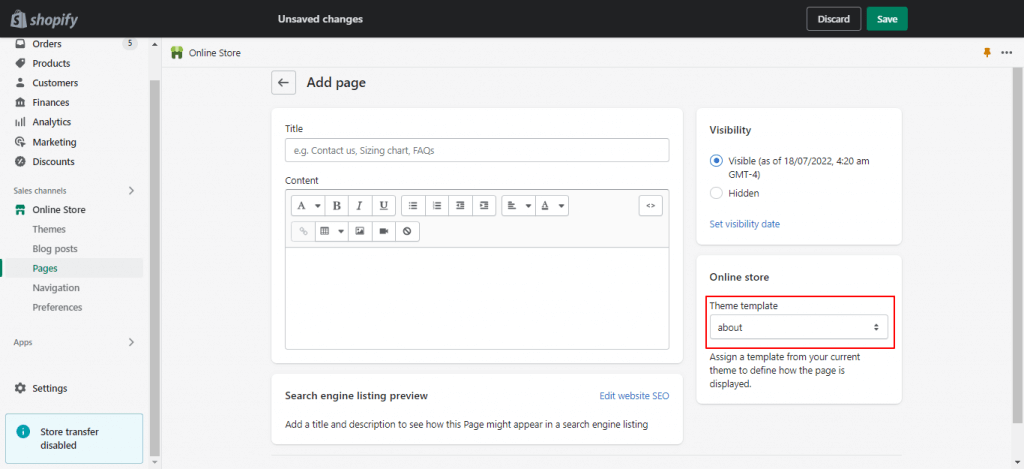
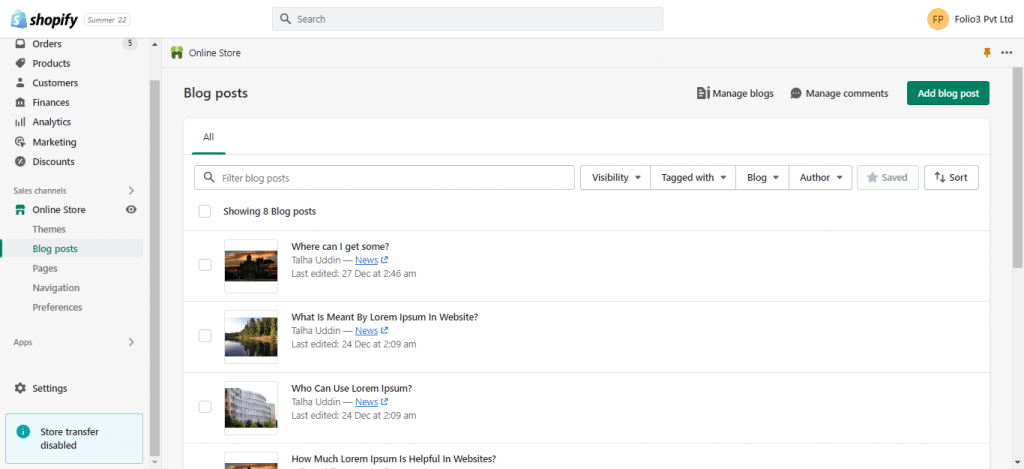
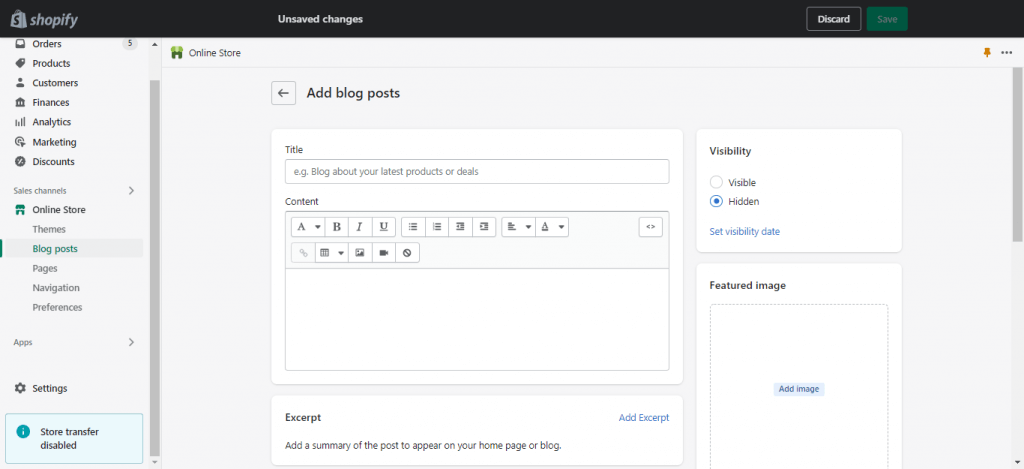
In order to add a blog, click on Add Blog option it will redirect to the next step. To add blog page, you need to provide title, content of blog, image and all the required information. Once the blog is created successfully it will be shown in the main blog screen.
Blogs can be edited and viewed;
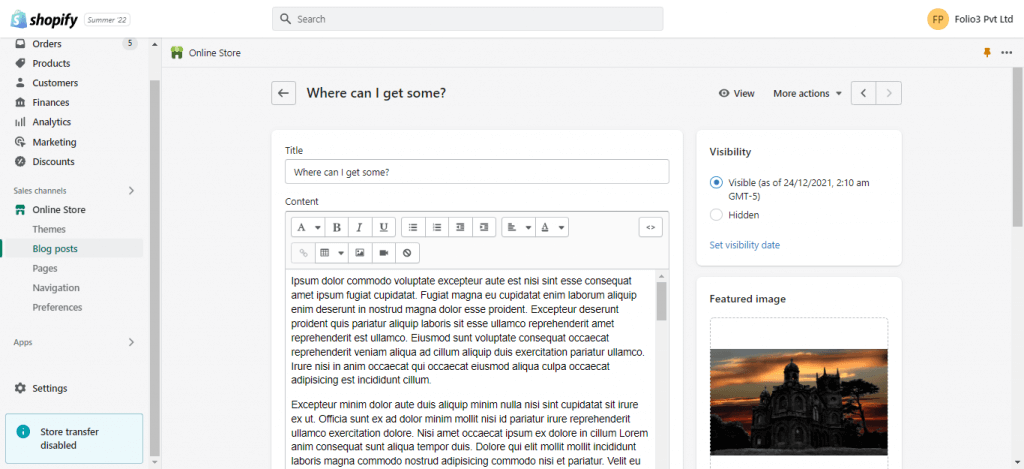
for viewing the blog: click on the existing blog from the blog list.
for editing the blog: click on the existing blog, it will redirect to the next step and fields will become editable.