


FACE REALITY SKIN CARE
![]() The Folio3 team has been absolutely amazing to work with. They're solution-oriented, deliver quality work based on our business requirements, and play a critical role in launching our initiatives.
The Folio3 team has been absolutely amazing to work with. They're solution-oriented, deliver quality work based on our business requirements, and play a critical role in launching our initiatives.

PURELIFE DENTAL
![]() After months searching for the right partner, Folio3 completely nailed our complexity. Their detail oriented, highly skilled team delivered a sophisticated website that created measurable business performance that we're thrilled with.
After months searching for the right partner, Folio3 completely nailed our complexity. Their detail oriented, highly skilled team delivered a sophisticated website that created measurable business performance that we're thrilled with.

HFF Custom Rods
![]() Folio3 understands our vision perfectly, providing cost-effective solutions with zero communication barriers that tripled daily orders, allowing us to compete with industry leaders
Folio3 understands our vision perfectly, providing cost-effective solutions with zero communication barriers that tripled daily orders, allowing us to compete with industry leaders

File Manager
App

Shopping List Manager

Link Guest
Orders

BigCommerce V2 to V3 Migration
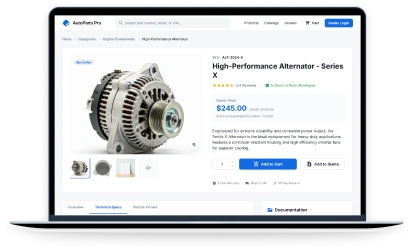
Automotive
Complex fitment catalogs, year-make-model filtering, and ERP-driven inventory need precise platform control. Our BigCommerce development service handles high-volume ordering and detailed product data without breaking site performance.
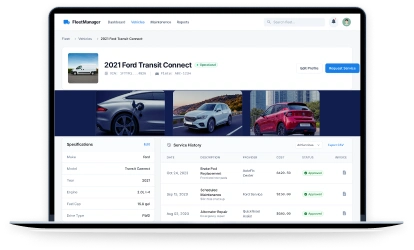
Manufacturing
Manufacturers need B2B pricing tiers, distributor workflows, and ERP sync running in parallel with their storefront. Our BigCommerce development experts align the store with production and fulfillment operations from day one.

Packaging
Packaging brands deal with bulk ordering rules, regulatory compliance labels, and complex product configurations. We build BigCommerce stores that manage these catalog requirements without custom code that breaks on every update.
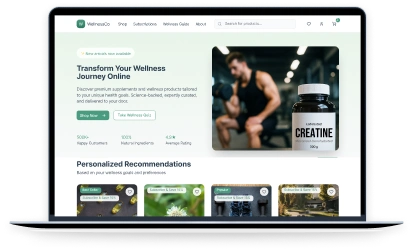
Biosciences
Biosciences ecommerce requires secure transactions, compliant product data, and reliable lab system integrations. Our BigCommerce ecommerce development services support these workflows while keeping the storefront stable and auditable.
Healthcare
Healthcare commerce needs security, compliance awareness, and stable third-party integrations. Our BigCommerce development services support regulated product workflows and dependable storefront performance across patient and provider-facing stores.
Fashion
Fast-changing catalogs, variant-heavy products, and seasonal drops require speed and merchandising flexibility. Our BigCommerce development company keeps storefronts responsive and product management efficient as collections scale.


Terri Anne Meyer Head of Digital Marketing
We have been working with Folio3 since 2018. We are extremely fortunate to have found such a fantastic team of people. They are professional, organized, time-sensitive, and their work is stellar. Most recently, we needed support with dynamic schema mark-up and GA4 event integrations.
![]()

Omar M. Al-Midani Co-Chief Executive Officer
As you know our project is quite complicated & involves some fairly intricate customizations. Overall we are very happy with the progress so far. We feel that your team understands our requirements very well & also anticipates issues & provides effective solutions.
![]()

Dinara Etshman Project Manager
The Folio3 team is a pleasure to work with. During the project, they were responsive and their turnaround time was always stellar.
![]()
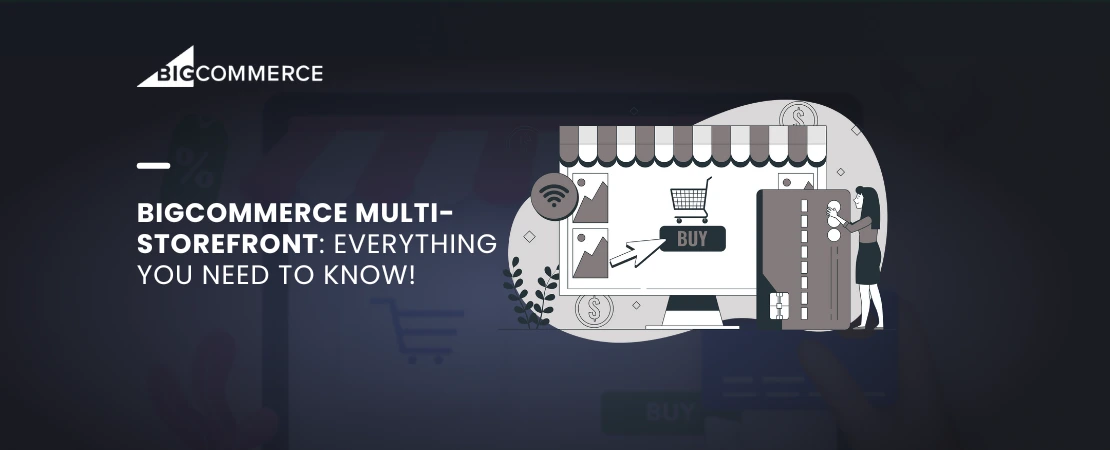
BigCommerce Multi Storefront: Complete Guide
BigCommerce introduced its BigCommerce multi storefront feature in March 2022, transforming how businesses manage multiple online stores..
Read More
Developing BigCommerce Custom Payment Gateway
BigCommerce is a SaaS eCommerce platform, meaning merchants do not have direct access to core files like in Magento or WooCommerce..
Read More

Shopify to BigCommerce Migration: Step-by-Step Process & Checklist
Making the switch from Shopify to BigCommerce represents a strategic decision for businesses...
Read More