


B2B Shopify
Development
Built for businesses that manage bulk orders, negotiated pricing, and repeat buyers. We structure dashboards, pricing tiers, and workflows so purchasing remains fast and organized.

B2C Shopify
Development
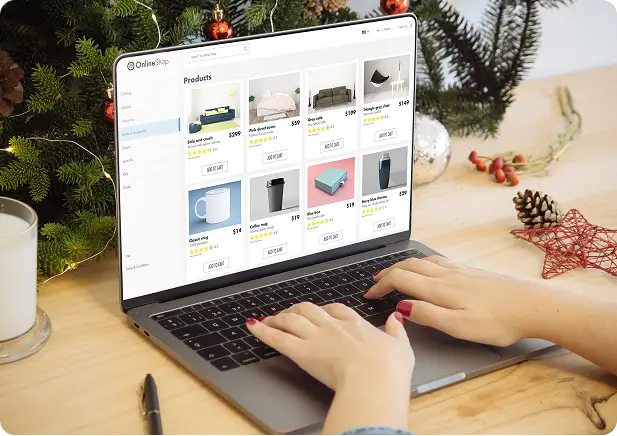
Designed for high-volume shoppers who need quick navigation and clear product discovery. We focus on layout clarity, category flow, and checkout speed to reduce drop-offs.

D2C Shopify
Development
Created for brands that sell directly and rely on retention and repeat purchases, our Shopify store development company design stores that support subscriptions, campaigns, and ongoing customer engagement.

Automotive Manufacturers & OEMs
Through Shopify website development, we build sites that present full vehicle lineups, support dealer workflows, and sync with ERP systems for clean production and inventory visibility.
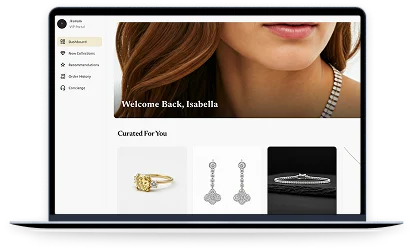
Jewelry & Luxury Retailers
Create immersive storefronts with advanced Shopify eCommerce development, including AI-powered jewelry builders, virtual try-ons, and inventory forecasting tuned to seasonal demand.

Fashion & Apparel Brands
Our Shopify store development services build AI-driven stores with smart size guides, predictive recommendations, and automated styling features that increase conversions and customer confidence.
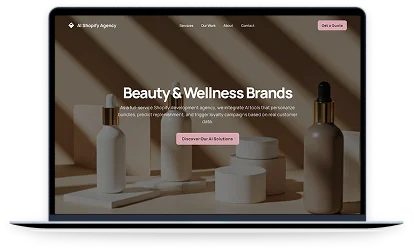
Beauty & Wellness Brands
Using Shopify web development services, we integrate tools that personalize bundles, predict replenishment cycles, and trigger loyalty campaigns based on real customer data.
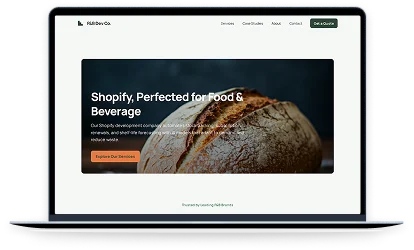
Food & Beverage Businesses
As a Shopify development company, we automate stock tracking, subscription renewals, and shelf life forecasting using structured data that adapts to shifting demand.
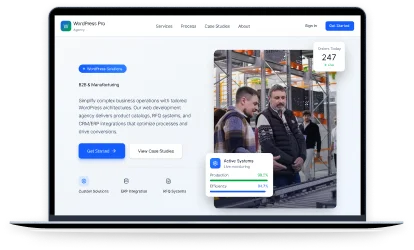
B2B & Wholesale Platforms
Support complex wholesale cycles with custom pricing logic, instant quote workflows, and account specific catalogs delivered through structured Shopify eCommerce development services.


FACE REALITY SKIN CARE
![]() The Folio3 team has been absolutely amazing to work with. They're solution-oriented, deliver quality work based on our business requirements, and play a critical role in launching our initiatives.
The Folio3 team has been absolutely amazing to work with. They're solution-oriented, deliver quality work based on our business requirements, and play a critical role in launching our initiatives.

PURELIFE DENTAL
![]() After months searching for the right partner, Folio3 completely nailed our complexity. Their detail oriented, highly skilled team delivered a sophisticated website that created measurable business performance that we're thrilled with.
After months searching for the right partner, Folio3 completely nailed our complexity. Their detail oriented, highly skilled team delivered a sophisticated website that created measurable business performance that we're thrilled with.

HFF Custom Rods
![]() Folio3 understands our vision perfectly, providing cost-effective solutions with zero communication barriers that tripled daily orders, allowing us to compete with industry leaders
Folio3 understands our vision perfectly, providing cost-effective solutions with zero communication barriers that tripled daily orders, allowing us to compete with industry leaders

Terri Anne Meyer Head of Digital Marketing
We have been working with Folio3 since 2018. We are extremely fortunate to have found such a fantastic team of people. They are professional, organized, time-sensitive, and their work is stellar. Most recently, we needed support with dynamic schema mark-up and GA4 event integrations.
![]()

Omar M. Al-Midani Co-Chief Executive Officer
As you know our project is quite complicated & involves some fairly intricate customizations. Overall we are very happy with the progress so far. We feel that your team understands our requirements very well & also anticipates issues & provides effective solutions.
![]()

Dinara Etshman Project Manager
The Folio3 team is a pleasure to work with. During the project, they were responsive and their turnaround time was always stellar.
![]()


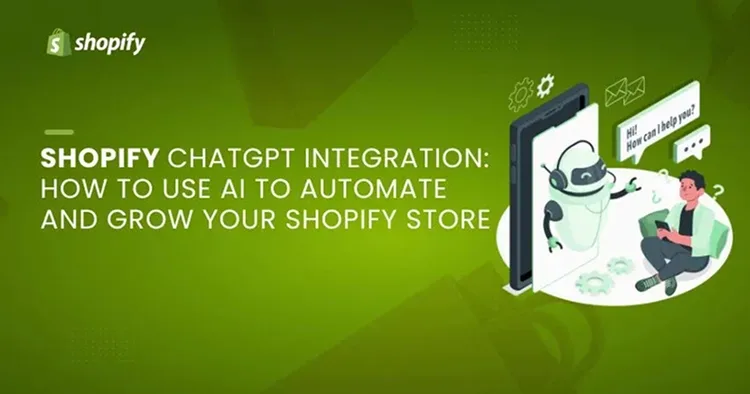
Shopify ChatGPT Integration: How to Use AI to Automate and Grow
Discover how Shopify ChatGPT integration automates sales, boosts conversions, and streamlines support.
Read More

Shopify Store Development Cost 2025: Detailed Pricing Breakdown
Learn about Shopify store development, theme, and setup pricing to estimate your total store build cost accurately.
Read More

Hire Someone to Build a Shopify Store: Step-by-Step Process Guide
Discover how to hire someone to build a Shopify store with expert tips, cost breakdowns, and a proven process.
Read More