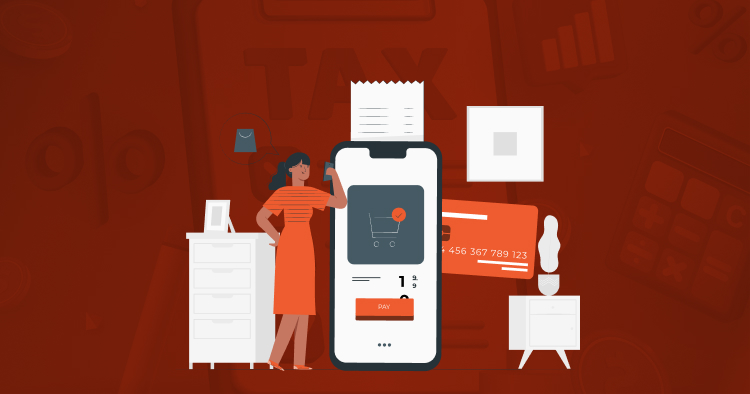
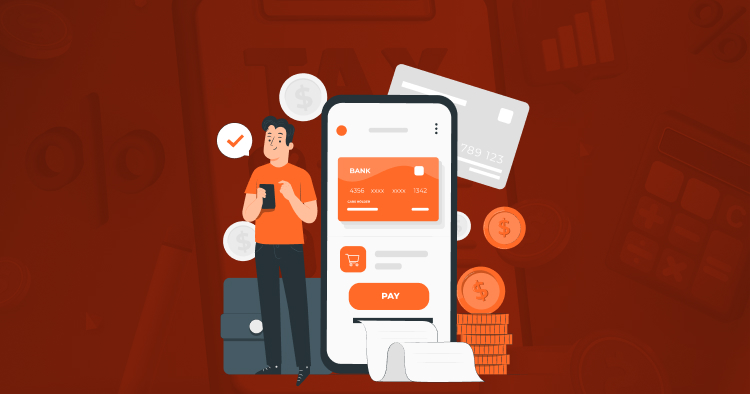
Your checkout is where sales are won or lost. If customers can’t pay the way they want, they leave — and a missing PayPal option is one of the most common reasons for cart abandonment on Magento stores.
This guide covers everything you need for a complete PayPal Magento integration: which plan fits your business, how to configure it step by step in Magento 2, what advanced settings to enable, and how to avoid the mistakes that silently break transactions.
Summary
- Magento 2 offers three native PayPal plans — Standard, Advanced, and Pro — each suited to different business sizes and checkout needs
- The integration process runs through the Magento Admin panel under Stores > Configuration > Sales > Payment Methods
- PayPal Express Checkout is automatically bundled with PayPal Payments Pro and reduces checkout friction significantly
- Sandbox (test) mode should always be enabled and verified before going live
- Advanced settings like SSL verification, CVV entry, and debug mode are critical for security and troubleshooting
- Common integration errors usually come from mismatched credentials or skipped IPN (Instant Payment Notification) configuration
Choosing the Right PayPal Plan for Magento
Before you touch a single setting in the Magento backend, you need to pick the right PayPal plan. The wrong choice creates friction later — either in features you’re missing or in PCI compliance requirements you weren’t expecting.
PayPal Payments Standard
This is the entry-level option. Customers are redirected to PayPal’s hosted page to complete payment, then returned to your store. Setup is minimal and there are no PCI DSS requirements on your end since PayPal handles the entire payment environment.
It works well for small stores with lower transaction volumes, but the redirect experience can reduce conversions compared to on-site checkout.
PayPal Payments Advanced
Payments Advanced keeps customers on your Magento store during checkout via a hosted iframe. You get more control over the experience without taking on the full PCI compliance burden, since the card data is still handled by PayPal’s servers.
This is a solid middle-ground option for growing stores that want a cleaner checkout flow without the development overhead of a fully custom integration.
PayPal Payments Pro
Pro is the most flexible option. It allows fully on-site card processing with no redirect, giving you complete control over the checkout UI. However, it comes with a higher PCI compliance obligation since card data passes through your environment.
PayPal Express Checkout is automatically bundled with this plan, enabling customers to pay with their PayPal account in two clicks from the cart or product page.
| Plan | Checkout Type | PCI Requirement | Express Checkout Included |
| Payments Standard | Redirect to PayPal | Minimal | No |
| Payments Advanced | Hosted iframe (on-site) | Moderate | No |
| Payments Pro | Fully on-site | Full SAQ D | Yes |
For merchants in Germany and Latin America, PayPal PLUS is also available with added support for credit cards, direct debit, and account-based payments.
Now that you’ve selected a plan, here’s how to complete the magento paypal integration in your store backend.
Step-by-Step: How to Set Up PayPal in Magento 2
Step 1: Access Payment Settings in the Admin Panel
Log into your Magento 2 Admin Panel and navigate to Stores > Configuration > Sales > Payment Methods.
Scroll down to the PayPal section. You’ll see options for PayPal All-In-One Payment Solutions, PayPal Payment Gateways, and other PayPal services. Select the plan you chose and click Configure.
Step 2: Enter Your PayPal Merchant Credentials
Fill in the required credentials linked to your PayPal business account:
- Merchant account email
- Partner ID
- Vendor name
- API username, password, and signature
These credentials come directly from your PayPal business account under Account Settings > API Access. Double-check each field — a single character mismatch here causes the entire integration to fail silently at checkout.
Step 3: Enable Sandbox (Test) Mode
Before going live, set Test Mode to Yes. This routes all transactions through PayPal’s sandbox environment using test credentials from developer.paypal.com.
Run at least two or three test transactions covering:
- Successful payment
- Declined card
- Partial refund (if applicable to your workflow)
Only disable sandbox mode after all tests pass without errors.
Step 4: Configure PayPal Payments Pro Settings (If Applicable)
If you selected Payments Pro, you’ll have additional configuration options:
| Setting | Recommended Value | Notes |
| Payment Action | Authorization | Capture manually after fulfillment |
| Card Types Accepted | Visa, Mastercard, Amex | Match your PayPal account setup |
| Applicable Countries | All or specific | Restrict if selling only in select markets |
| 3D Secure | Enabled | Reduces chargebacks, required in many regions |
Payment Action is an important decision here. “Authorization” places a hold on the customer’s card without capturing funds until you ship. “Sale” captures immediately at order. Most B2B and higher-value merchants prefer Authorization.
Step 5: Configure Advanced Settings
Advanced settings in the magento 2 paypal integration panel control security and debugging behavior. These are easy to overlook but matter a great deal in production.
| Setting | Recommended Value | Why It Matters |
| Debug Mode | No (in production) | Logs sensitive data — leave off unless troubleshooting |
| Enable SSL Verification | Yes | Mandatory for secure transaction communication |
| Require CVV Entry | Yes | Reduces fraud on card-not-present transactions |
| Transfer Cart Line Items | Yes | Sends itemized order data to PayPal for dispute resolution |
Enable SSL verification regardless of your hosting setup. If your SSL certificate has any issues, this setting will surface errors early rather than letting failed transactions slip through undetected.
Step 6: Configure PayPal Express Checkout
If you’re using Payments Pro — or have enabled Express Checkout separately — configure where the PayPal button appears across your store:
- Product detail pages — allows one-click checkout without adding to cart
- Shopping cart page — reduces steps for users already in the purchase flow
- Mini cart — visible in the header, ideal for impulse purchases
You can also configure button appearance (size, color, shape) to match your store’s design. PayPal’s button customization options are available directly in this section of the magento integration with paypal settings panel.
Step 7: Configure Instant Payment Notification (IPN)
IPN is one of the most commonly skipped steps in a magento paypal integration setup — and it’s the reason many stores see orders stuck in “Pending Payment” status.
IPN sends real-time transaction updates from PayPal to your Magento store. To enable it:
- Log into your PayPal business account
- Go to Account Settings > Notifications > Instant Payment Notifications
- Enter your store’s IPN listener URL: https://yourstore.com/paypal/ipn/
- Enable IPN and save
Without IPN configured correctly, order statuses may not update automatically after payment, leading to fulfillment delays and customer service issues.
Step 8: Save and Verify
Click Save Config once all settings are complete. Clear your Magento cache under System > Cache Management, then run a full end-to-end transaction in sandbox mode to confirm everything is working.
Common Magento PayPal Integration Errors and Fixes
Even a correct setup can hit issues. Here are the most frequent problems and how to resolve them.
| Error | Likely Cause | Fix |
| “PayPal gateway has rejected request” | Wrong API credentials | Re-enter credentials from PayPal account settings |
| Orders stuck in Pending Payment | IPN not configured | Set up IPN listener in PayPal account |
| Checkout button not appearing | PayPal not enabled for store view | Check store view scope in config |
| SSL certificate error | Expired or misconfigured cert | Renew SSL and verify server config |
| Duplicate orders on refresh | Missing order ID uniqueness setting | Enable “Use Store Name” in checkout config |
Most errors in a Magento 2 PayPal integration trace back to three root causes: credential mismatch, missing IPN setup, or scope configuration (the settings being saved at the wrong store view level). Always verify scope before assuming a technical fault.
PayPal Express Checkout vs Standard Checkout: Which Performs Better
The checkout method you choose directly impacts your conversion rate. Here’s how the two options compare in practice.
PayPal Express Checkout allows customers to pay using their stored PayPal account information — address, payment method, everything — in two clicks. Research by the Baymard Institute consistently shows that reducing checkout steps decreases abandonment rates. Stores that integrate paypal with magento using Express Checkout typically see lower abandonment on mobile in particular, where form entry is the biggest friction point.
Standard checkout requires customers to fill in card details manually on your store or be redirected to PayPal’s hosted page. It works reliably but doesn’t offer the speed advantage of Express.
For most stores, enabling both options gives the best coverage: card-only customers use the standard flow, while PayPal account holders can skip most steps entirely.
If you’re also evaluating other payment options for your store, the Best Magento Payment Gateways for 2026 guide covers how PayPal compares against Stripe, Authorize.Net, and other gateways on fees, features, and ease of integration.
PayPal Checkout and Magento 2 One Step Checkout Compatibility
Many Magento stores use a one step checkout extension to compress the default multi-page checkout into a single screen.
PayPal integrates cleanly with most one step checkout extensions, but there are a few things to verify:
- Confirm the extension explicitly lists PayPal compatibility in its documentation
- Test Express Checkout button rendering on the single-page checkout view
- Verify that order totals and line items pass correctly through the compressed flow
If you’re running a custom or heavily modified checkout, always test the full PayPal flow in sandbox mode after any checkout-related extension update.
Security and PCI Compliance Considerations
PayPal’s hosted solutions (Standard and Advanced) minimize your PCI scope because card data never touches your server. PayPal Payments Pro is different — since card data is entered on your site, you fall under SAQ D compliance, which involves a more extensive self-assessment and potentially annual QSA audits.
Regardless of plan, these settings should always be active on a production Magento store using any form of magento paypal integration:
- HTTPS on all pages (not just checkout)
- CVV entry required
- SSL verification enabled in PayPal settings
- Two-factor authentication on your Magento admin account
- Regular PCI scanning if you’re on Payments Pro
For stores running on Adobe Commerce Cloud, security patches are handled at the platform level, but custom payment configurations still require manual review.
Key Takeaways
- Choose your PayPal plan based on checkout control needs and PCI appetite — Standard for simplicity, Advanced for balance, Pro for full on-site control
- Credential accuracy during setup is critical — one wrong character breaks the integration at checkout
- Always run sandbox testing across multiple transaction scenarios before going live
- Configure IPN in your PayPal business account or orders will get stuck in Pending Payment
- Enable Express Checkout for lower cart abandonment, especially on mobile
- Security settings (SSL, CVV, HTTPS) are non-negotiable regardless of which plan you use
Conclusion
A properly configured PayPal Magento integration reduces checkout friction, increases payment method coverage, and gives customers a trusted payment option at the point of purchase. The setup itself is straightforward once you’ve chosen the right plan and worked through each configuration step carefully.
If you’re building or optimizing a Magento store and want expert help with payment configuration, checkout performance, or broader platform integrations, talk to the Folio3 Magento team to get it done right the first time.
You might also find it useful to explore how Magento POS integration works if you’re running both online and physical retail — PayPal’s in-person payment products can connect with your POS setup as well.
Frequently Asked Questions
Can I Use Multiple PayPal Accounts With One Magento Store?
Yes. Magento supports separate PayPal accounts configured per store view or website within a single installation. This is useful for multi-region stores that need different merchant accounts for different markets.
What Is the Difference Between PayPal Payments Standard and Pro in Magento 2?
Standard redirects customers to PayPal to complete payment. Pro keeps the entire checkout on your Magento store. Pro offers more control but requires higher PCI compliance — Standard is simpler to maintain but offers less checkout continuity.
Do I Need a Developer to Integrate PayPal With Magento?
For Standard and Advanced plans, most store owners can handle the configuration in the Magento Admin without developer support. Payments Pro and any custom Express Checkout placement typically benefit from developer review, especially on customized checkout pages.
Why Are My Magento Orders Stuck in Pending Payment After PayPal Checkout?
This is almost always an IPN configuration issue. Log into your PayPal business account, enable Instant Payment Notifications, and set the listener URL to https://yourstore.com/paypal/ipn/. Clear Magento cache after saving.
How Much Does PayPal Charge Per Transaction on Magento?
PayPal’s standard rate for online transactions is 3.49% + a fixed fee (varies by country). Volume discounts apply at higher transaction levels. Check PayPal’s merchant pricing page for current rates specific to your business location and transaction type.
Is PayPal Express Checkout Available Without PayPal Payments Pro?
Yes. PayPal Express Checkout can be enabled as a standalone payment option in Magento without requiring the full Payments Pro plan. It is automatically included with Pro but can also be configured independently through the PayPal Express Checkout settings in the Payment Methods section.